
What Is A Prototype?
As step four of the design thinking process prototypes are an imperative aspect of design. Typically prototyping begins after the ideation stage, and it can take your product to the next level and bring research, ideas, and concepts to life. The article “The Ultimate Guide to Prototyping” explains, “Prototypes are a close replica of what the end result of a product will look like, usually without code.” A prototype is able to communicate all of the necessary elements that your design is aiming to get across to your audience.
Where Do I Start?
Prototypes come in all sorts of shapes and sizes. It is helpful to choose the type that best suits your project scope. If you need something just to illustrate a simple feature or type of content, a low-fidelity prototype may be suitable for you. “A low-fidelity prototype generally consists of a bare-bones version of the final product” (“The Ultimate Guide to Prototyping”). If you are farther along in the design process and need something to illustrate more of what the final product would look like, a high-fidelity prototype may be suitable for you. “With a high fidelity prototype, you should be close to having designed all but the finished product. High-fidelity prototypes will contain all of the layouts, spacing, element positioning, and navigation of the lo-fi prototype, but with a lot of extra details” (“The Ultimate Guide to Prototyping”).
Once you have decided whether a low-fidelity prototype or a high-fidelity prototype works best for you, you can choose which method of prototyping to use. Some low-fidelity options include paper prototyping, or even designing clickable wireframes in software like Microsoft Powerpoint or Google Slides. Author, Nick Babich explains paper prototypes, “Paper prototyping allows you to prototype a digital product interface without using digital software. The technique is based on creating hand drawings of different screens that represent user interfaces of a product.” Babich also explains clickable wireframes, “Wireframes can be used as a foundation for lo-fi prototypes. Clickable wireframes are the simplest form of interactive prototype — created by linking static wireframes together.”

To develop a low-fidelity prototype you typically do not need fancy software, however certain types of high-fidelity prototyping may warrant them. There are some websites that can be used to develop high-fidelity prototypes for free, like InVision. The reason software may be warranted when developing this type of prototype is that high-fidelity prototypes usually closely emulate what your final product will look like. “High-fidelity prototypes are computer-based, and usually allow realistic (mouse-keyboard) user interactions. High-fidelity prototypes take you as close as possible to a true representation of the user interface” (“Prototyping”).
I Made My Prototype. Now What?
Once you have developed a prototype in the method of your choosing, you can use it to test the functionality of your design and generate user feedback before launching the final product. “The primary goal of building a prototype is to test designs (and product ideas) before creating real products. Your product’s success is directly related to whether you test it or not…If this is the first-ever testing, there’s a high likelihood of negative feedback from users” (Babich). I’ll talk more about testing in the coming weeks.
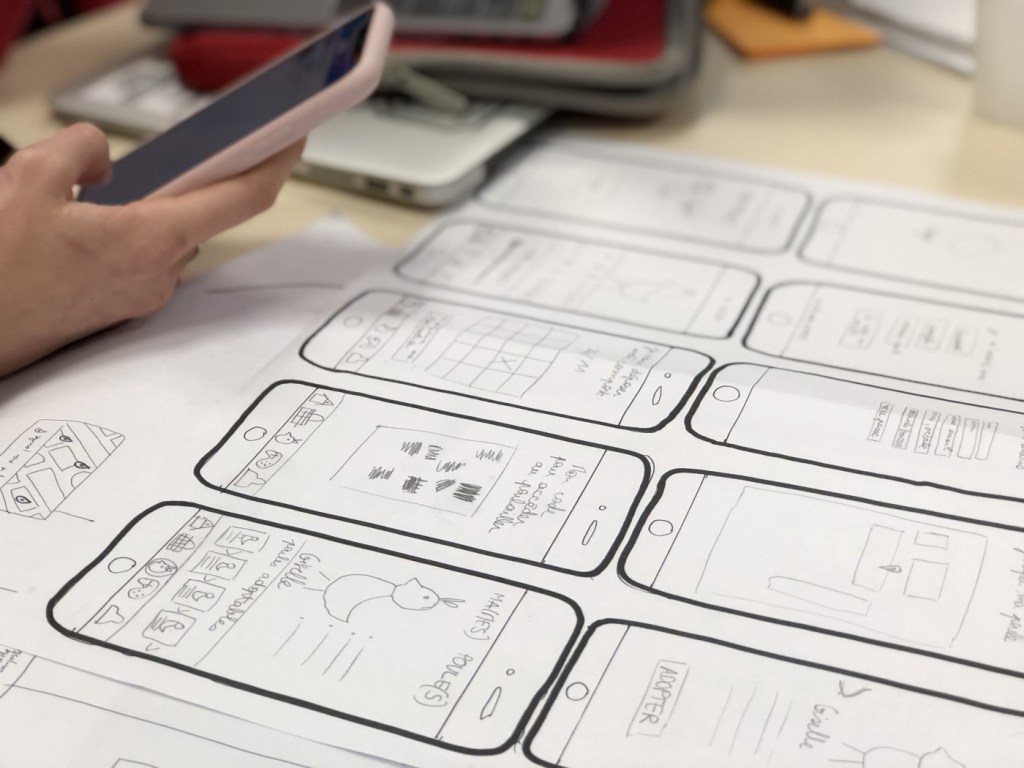
Paper Prototypes in Action
As I’ve mentioned in a few of my previous blog posts, I have been working to develop a concept for a companion app for the Roscoe, NY website. At this point, I have developed an information architecture as well as user flows to illustrate the structure and functionality of certain tasks that could be completed through the use of the app. However, this week I gave the app a bit of personality and drove the functionality even further through the generation of a paper prototype.

I developed multiple screens for the Roscoe, NY companion app through a paper prototype. Although it is on screen, the practice is the same. I used a drawing tablet and a basic template of an iPhone to illustrate the future structure the app would have.
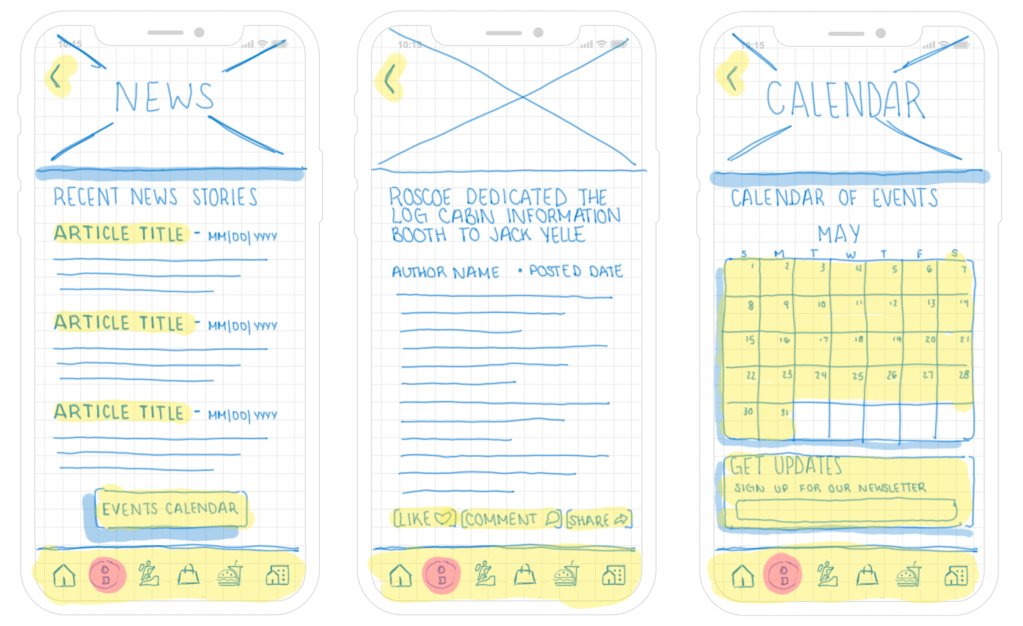
Within the paper prototype, I utilized different highlight colors to indicate different things. I used the highlight color pink to indicate the current location the user is in the app. I used the color yellow to indicate areas of potential user interaction. The color blue is also used but does not represent anything specific, but only shows shadows and design elements.
Conclusion
Because paper prototypes do not require a lot of time, effort, or resources they are fairly simple and quick to create. They can be utilized to flush out different ideas and consider different layouts and ways to structure the product. Even if you feel as though you are not capable of developing your own, simple shapes and colors can be used to illustrate your ideas. Try it out and see where it can take you and your product!

Leave a comment